No edit summary |
(→Tips) |
||
| Line 184: | Line 184: | ||
* Each boss will drop [[Red Heart]]s on normal difficulty. {{i|Dark Bum}} can turn these into [[Soul Heart]]s, providing loads of extra health. |
* Each boss will drop [[Red Heart]]s on normal difficulty. {{i|Dark Bum}} can turn these into [[Soul Heart]]s, providing loads of extra health. |
||
* Take out [[Carrion Queen]] quickly, as its [[red poop]]s will remain for the rest of the boss rush. They can be advantageous though, as other bosses can also take damage from these poops. In particular, bouncing bosses like [[The Hollow]] and [[The Husk]] can quickly kill themselves on contact. |
* Take out [[Carrion Queen]] quickly, as its [[red poop]]s will remain for the rest of the boss rush. They can be advantageous though, as other bosses can also take damage from these poops. In particular, bouncing bosses like [[The Hollow]] and [[The Husk]] can quickly kill themselves on contact. |
||
| − | *All bosses with {{i|Brimstone}} laser attack could severely hurt or even one-shot-kill each other, especially {{dlc|a}}[[The Gate]]. It may be beneficial to focus on the other boss before killing them. |
+ | *All bosses with {{i|Brimstone}} laser attack could severely hurt or even one-shot-kill each other, especially {{dlc|a}} [[The Gate]]. It may be beneficial to focus on the other boss before killing them. |
* Wave 9 can be quite difficult as [[Monstro II]] (he always spawns on the left side) can catch the player off guard with an offscreen {{i|Brimstone}} laser. The [[black creep]] left by [[Gish]] will remain until he is killed. |
* Wave 9 can be quite difficult as [[Monstro II]] (he always spawns on the left side) can catch the player off guard with an offscreen {{i|Brimstone}} laser. The [[black creep]] left by [[Gish]] will remain until he is killed. |
||
* [[The Bloat]] + [[Mask of Infamy]] is one of the hardest waves, but [[The Bloat]] can be baited into destroying both the heart and the mask itself of the [[Mask of Infamy]] with its {{i|Brimstone}} lasers. |
* [[The Bloat]] + [[Mask of Infamy]] is one of the hardest waves, but [[The Bloat]] can be baited into destroying both the heart and the mask itself of the [[Mask of Infamy]] with its {{i|Brimstone}} lasers. |
||
* Any [[Teleport]] effect (such as [[card]]s, activated items, Telepills, etc) can be used to leave the Boss Rush. This can be used to gain one item without having to fight any bosses. |
* Any [[Teleport]] effect (such as [[card]]s, activated items, Telepills, etc) can be used to leave the Boss Rush. This can be used to gain one item without having to fight any bosses. |
||
| + | ** After unlocking {{a|A Strange Door}}, [[Rocks#Marked_Skulls|Marked Skulls]] will always appear on Depths II and will always drop {{p|0 - The Fool}}, providing a guaranteed way to escape Boss Rush. |
||
== Unlockable [[Achievement]]s == |
== Unlockable [[Achievement]]s == |
||
Revision as of 07:30, 12 June 2021
The Boss Rush is an optional room that becomes available by beating Mom (in The Depths, Necropolis and ![]() Dank Depths) within 20 minutes, beating Mom (in
Dank Depths) within 20 minutes, beating Mom (in ![]() Mausoleum or
Mausoleum or ![]() Gehenna) within 25 minutes.
Gehenna) within 25 minutes.
- It can also be accessed by having the
 Broken Shovel equipped or with Mama Mega! active.
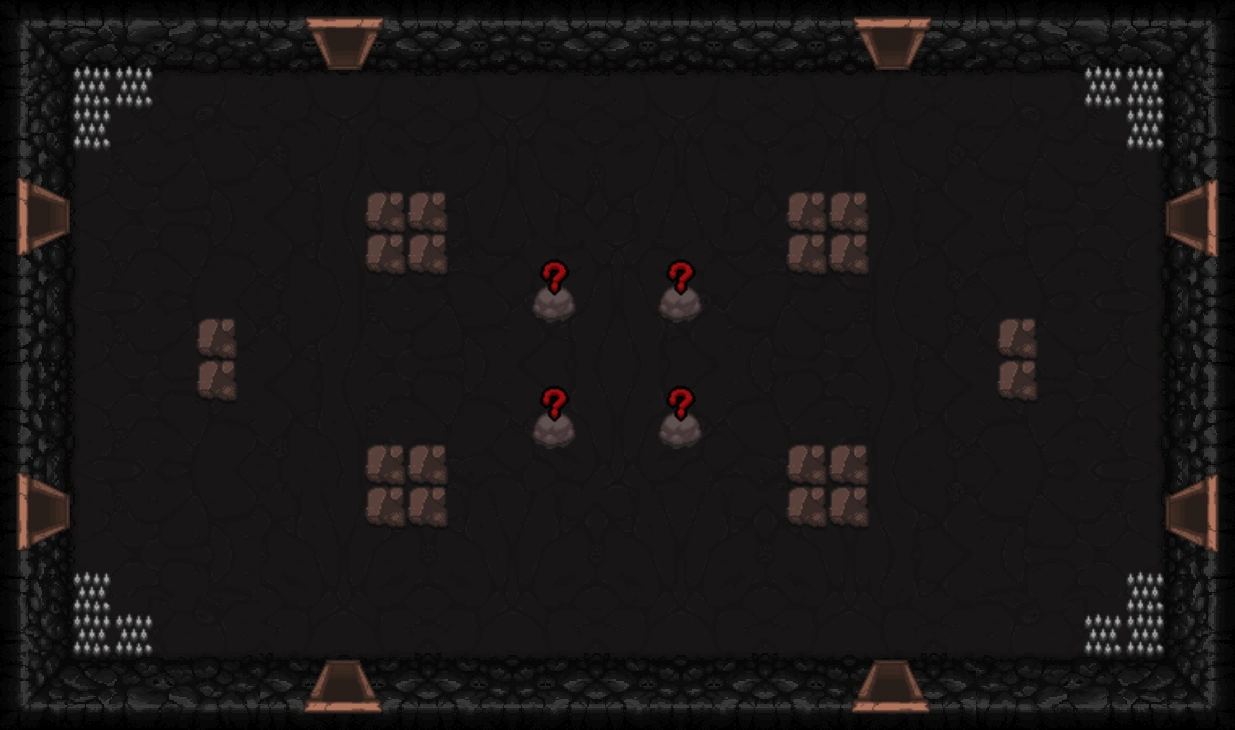
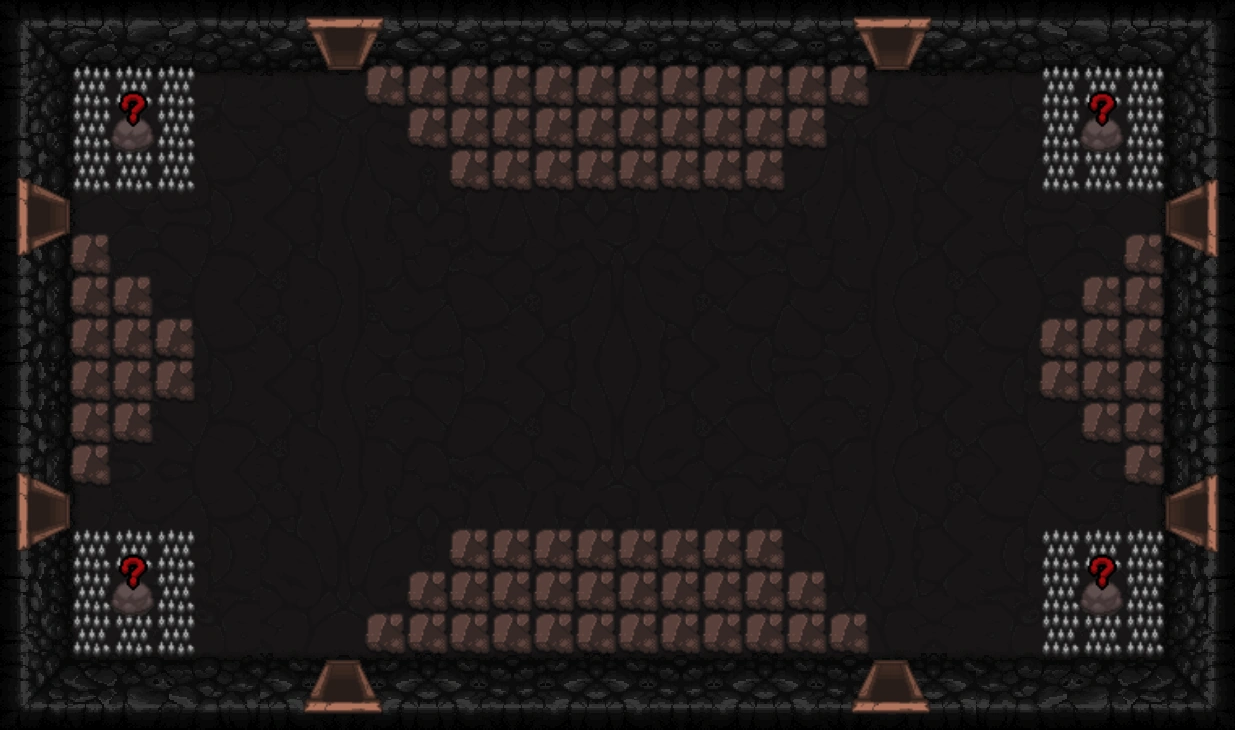
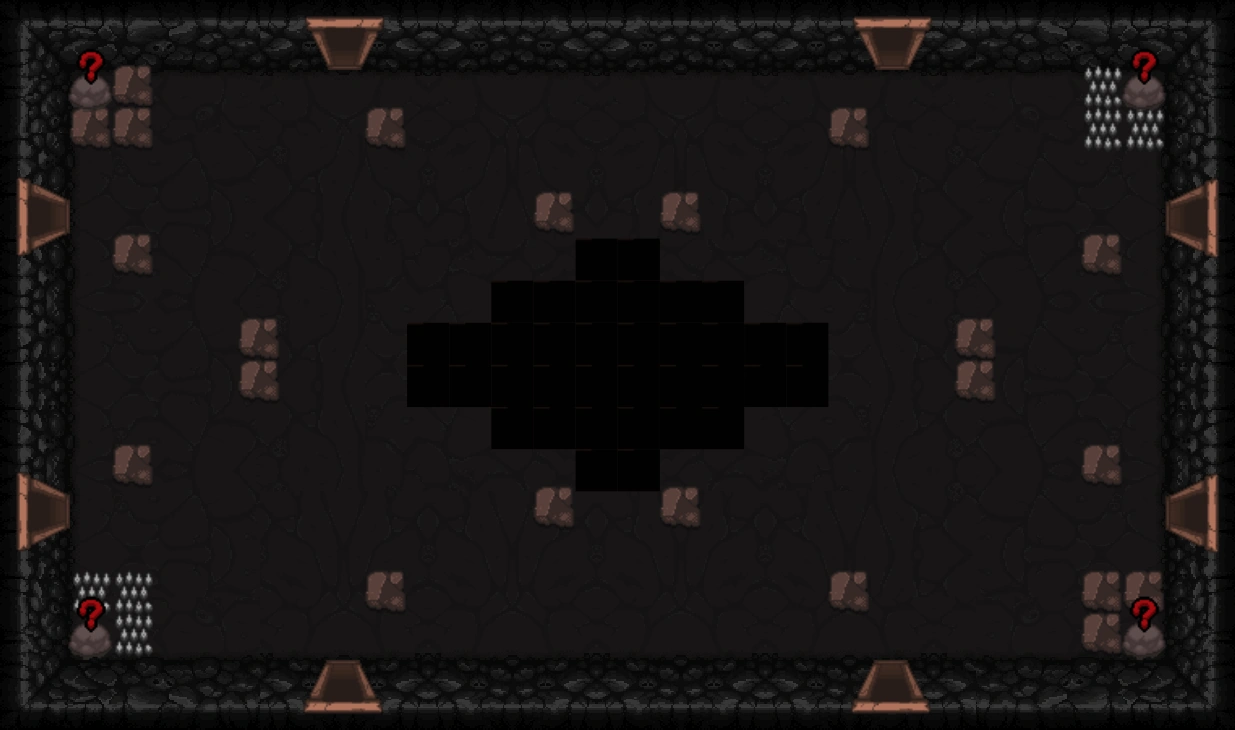
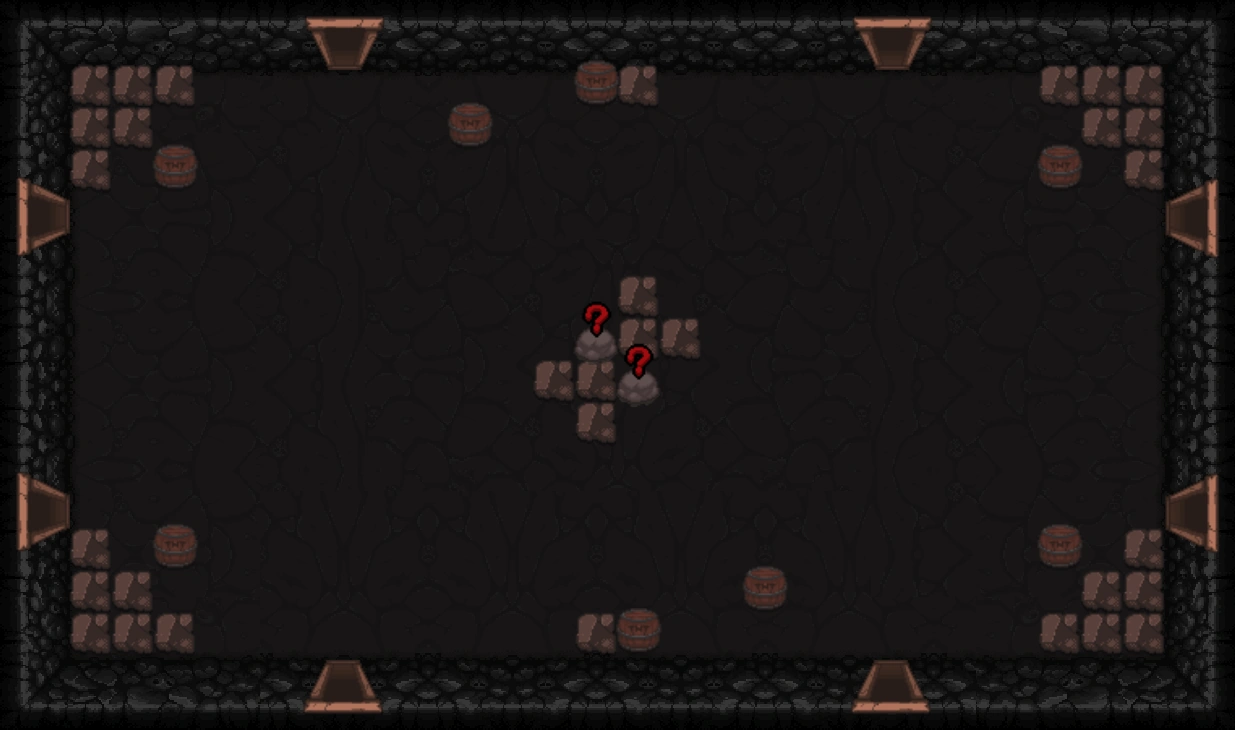
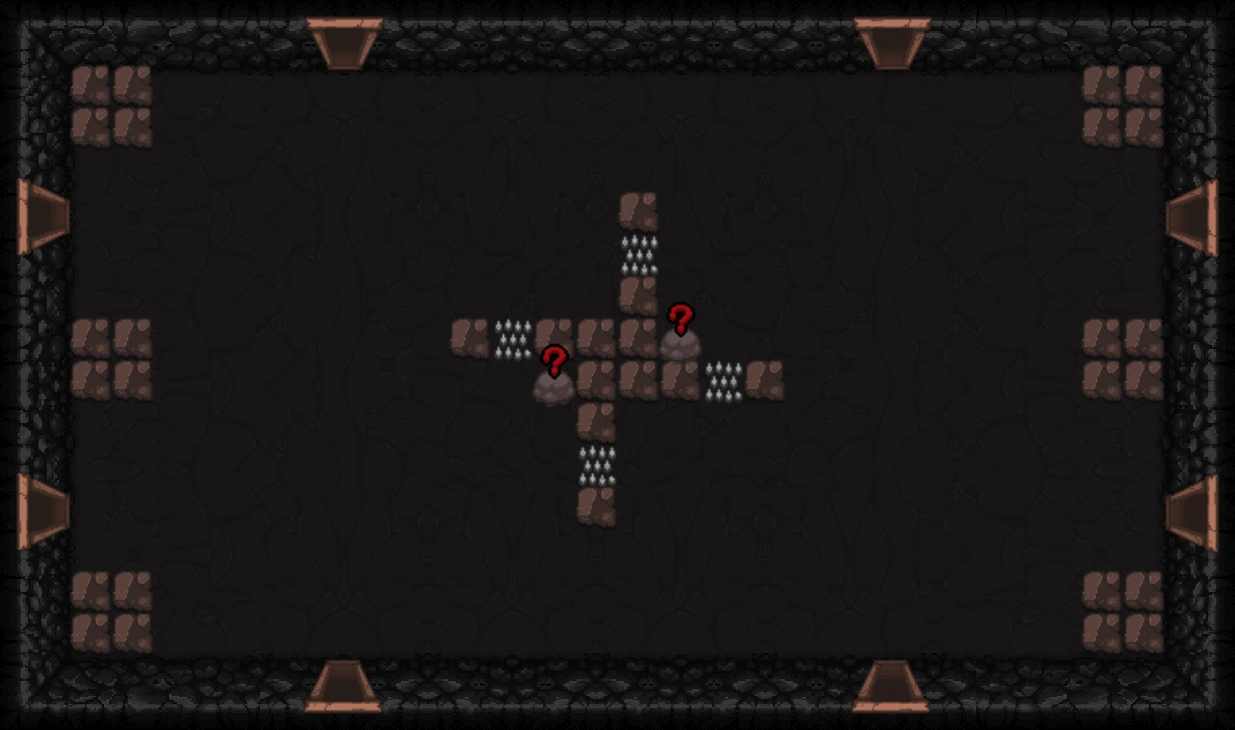
In the center of a large room, there will be 4 random items to choose from. Picking up an item will cause the other three to disappear and start the Boss Rush. Completing the Boss Rush will also reward 1 more item, separate from the 4 seen when first entering the room.
![]() There is a chance that there will only be 2 items to choose from. Additionally, items may be trapped behind rocks or spikes. Items may appear in the corners of the room instead of the center.
There is a chance that there will only be 2 items to choose from. Additionally, items may be trapped behind rocks or spikes. Items may appear in the corners of the room instead of the center.
![]() There is a small chance that there will be 8 items to choose from.
There is a small chance that there will be 8 items to choose from.
Waves
The Boss Rush consists of 15 waves with 2 bosses per wave. The next wave does not spawn until both bosses from the previous wave have been killed, and any lingering monsters from previous waves will not prevent the next wave from spawning.
Occasionally, all the bosses fought in the Boss Rush will be their Champion variants, if they have one.
Rebirth
All 15 waves are predetermined.
- Wave 1: Blighted Ovum and Gurdy Jr.
- Wave 2: Carrion Queen and The Wretched
- Wave 3: Peep and The Duke of Flies
- Wave 4: Blastocyst and Loki
- Wave 5: Steven and Gemini
- Wave 6: 3x Larry Jr. and Fistula
- Wave 7: C.H.A.D. and Monstro
- Wave 8: Gurdy and Chub
- Wave 9: Monstro II and Gish
- Wave 10: Widow and Pin
- Wave 11: 3x The Hollow and The Husk
- Wave 12: Mask of Infamy and The Bloat
- Wave 13: Pestilence and Famine
- Wave 14: Death and War
- Wave 15: The Fallen and The Headless Horseman
Afterbirth
All 15 waves are randomized, with each wave spawning two random bosses from the list. Each boss can only appear once per Boss Rush, meaning that out of all the 50 bosses Isaac will face 30 of them.
| Boss | Entity ID |
|---|---|
| 3x Larry Jr. | 19.0 |
| 3x The Hollow | 19.1 |
| Monstro | 20.0 |
| Chub | 28.0 |
| C.H.A.D. | 28.1 |
| Carrion Queen | 28.2 |
| Gurdy | 36.0 |
| Monstro II | 43.0 |
| Gish | 43.1 |
| Pin | 62.0 |
| The Frail | 62.2 |
| Famine | 63.0 |
| Pestilence | 64.0 |
| War | 65.0 |
| Death | 66.0 |
| The Duke of Flies | 67.0 |
| The Husk | 67.1 |
| Peep | 68.0 |
| The Bloat | 68.1 |
| Loki | 69.0 |
| Fistula | 71.0 |
| Blastocyst | 74.0 |
| Gemini | 79.0 |
| Steven | 79.1 |
| Blighted Ovum | 79.2 |
| The Fallen | 81.0 |
| The Headless Horseman | 82.0 |
| Mask of Infamy | 97.0 |
| Gurdy Jr. | 99.0 |
| Widow | 100.0 |
| The Wretched | 100.1 |
| 3x Gurglings | 237.1 |
| 3x Turdlings | 237.2 |
| The Haunt | 260.0 |
| Dingle | 261.0 |
| Dangle | 261.1 |
| Mega Maw | 262.0 |
| The Gate | 263.0 |
| Mega Fatty | 264.0 |
| The Cage | 265.0 |
| Dark One | 267.0 |
| The Adversary | 268.0 |
| Polycephalus | 269.0 |
| Uriel | 271.0 |
| Gabriel | 272.0 |
| The Stain | 401.0 |
| Brownie | 402.0 |
| The Forsaken | 403.0 |
| Little Horn | 404.0 |
| Rag Man | 405.0 |
Note that all of the chapter 4 bosses (except Blastocyst and Death) are not present in the Boss Rush:
- Scolex (62.1)
- Conquest (65.1)
- Lokii (69.1)
- Teratoma (71.1)
- Daddy Long Legs (101.0)
- Triachnid (101.1)
- Mama Gurdy (266.0)
- Mr. Fred (270.0)
Furthermore, some other bosses are not present in the Boss Rush:
- All Final Bosses
- All Sins and Super Sins
- Krampus (81.1)
- Fallen Uriel (271.1)
- Fallen Gabriel (272.2)
- All Afterbirth † Bosses
- All Repentance Bosses
Layouts

Notes
- If Mom is beaten within 20 minutes and Isaac enters the Devil Room, he must return to the boss room before 20 minutes have passed; otherwise, the Boss Rush entrance will be closed.
- If Isaac is teleported to the Devil Room while inside the Boss Rush room (for example, using a Joker card), exiting the Devil Room will lead him to Mom's Boss Room.
- If Isaac is teleported to the Devil Room while inside the Boss Rush room (for example, using a
- If Isaac dies during the Boss Rush, but is able to respawn, the entrance to the Boss Rush room will still be open if the timer is still under 20 minutes. If the Boss Rush entrance has closed, the room can still be re-entered by dying in the Mom boss fight room at the cost of another life.
- The Boss Rush can only be retried by picking up an item off a pedestal in its room. If the item Isaac originally picked from the room was an active type, the pedestal and item it was swapped out for will still be there. Swapping the items again will restart the fight. Alternatively, a new pedestal can be created, such as through a XX - Judgement card, and taking its item will also restart the fight.
- If a Sack spawns for whatever reason, picking it up will start the Boss Rush. The player can still pick up one of the pedestal items.
- The boss rush does not unlock anything if beaten in a challenge.
- Using Void or the Black Rune will start the Boss Rush.
- If a chest is opened in the Boss Rush room, it will start the Boss Rush
- Mama Mega! will open the Boss Rush room even if the time limit has expired.
- Holding Broken Shovel will also open the Boss Rush room ignoring time limit to complete Mom's Shovel.
- If a Crawl Space is entered from within the Boss Rush room, exiting the Crawl Space will not return the player to the Boss Rush room, but will instead place the player back in the Mom Boss Room.
Tips
- The player's playtime can be checked at any moment by pressing TAB (or long-pressing SELECT on the controller), enabling Extra HUD in the options menu, or by simply looking down to the bottom screen on the 3DS version, where it is shown on the map.
- Each boss will drop Red Hearts on normal difficulty. Dark Bum can turn these into Soul Hearts, providing loads of extra health.
- Take out Carrion Queen quickly, as its red poops will remain for the rest of the boss rush. They can be advantageous though, as other bosses can also take damage from these poops. In particular, bouncing bosses like The Hollow and The Husk can quickly kill themselves on contact.
- All bosses with Brimstone laser attack could severely hurt or even one-shot-kill each other, especially The Gate. It may be beneficial to focus on the other boss before killing them.
- Wave 9 can be quite difficult as Monstro II (he always spawns on the left side) can catch the player off guard with an offscreen Brimstone laser. The black creep left by Gish will remain until he is killed.
- The Bloat + Mask of Infamy is one of the hardest waves, but The Bloat can be baited into destroying both the heart and the mask itself of the Mask of Infamy with its Brimstone lasers.
- Any Teleport effect (such as cards, activated items, Telepills, etc) can be used to leave the Boss Rush. This can be used to gain one item without having to fight any bosses.
- After unlocking A Strange Door, Marked Skulls will always appear on Depths II and will always drop 0 - The Fool, providing a guaranteed way to escape Boss Rush.
- After unlocking
Unlockable Achievements
Gallery
A drawn concept of Boss Rush by Edmund McMillen.
Trivia
- Despite battling bosses from the floors before, a few bosses from Womb will spawn such as Blastocyst and Death.
- Despite the Timer seen between level transitions appearing, Boss Rush cannot be done the first time the player defeats Mom. Instead, the game will cut directly to the Epilogue.
- Armageddon is the theme for the Boss Rush added in The Binding of Isaac: Repentance.
Bugs
| It is possible for item pedestals to spawn on red poop (which can be spawned by Carrion Queen or red Dingle) or spikes. Attempting to pick up the item will damage Isaac. |
| One of the possible layouts for the Boss Rush room will have spikes near the location that an item pedestal spawns after completing the fight. If you possess "There's Options", one of the item pedestals can appear in the same place as the spikes, causing you to take damage by picking that item up. |
| Entering Boss Rush after the 20 minutes (killing Mom before it, but waiting to enter) and using Glowing Hour Glass will crash the game. |
| Unlocked | Boss Room |
Mini-Boss Room |
Curse Room |
Sacrifice Room |
Closet |
Grave Room |
|---|---|---|---|---|---|---|
| Locked | Treasure Room |
Shop |
Library |
Planetarium |
||
| Slotted | Arcade |
|||||
| Barred | Challenge Room |
Boss Challenge Room |
||||
| Double-locked | Vault |
Dice Room |
||||
| Double-boarded | Clean/Dirty Bedroom |
|||||
| Hidden | Secret Room |
Super Secret Room |
Crawl Space |
Black Market |
I AM ERROR |
Ultra Secret Room |
| Post-boss | Devil Room |
Angel Room |
Boss Rush |
Blue Womb Entrance |
||